Collect Datafresco
Deployment Troubleshooting
You may encounter errors during deployment. Below are some common errors along with solutions or workarounds.
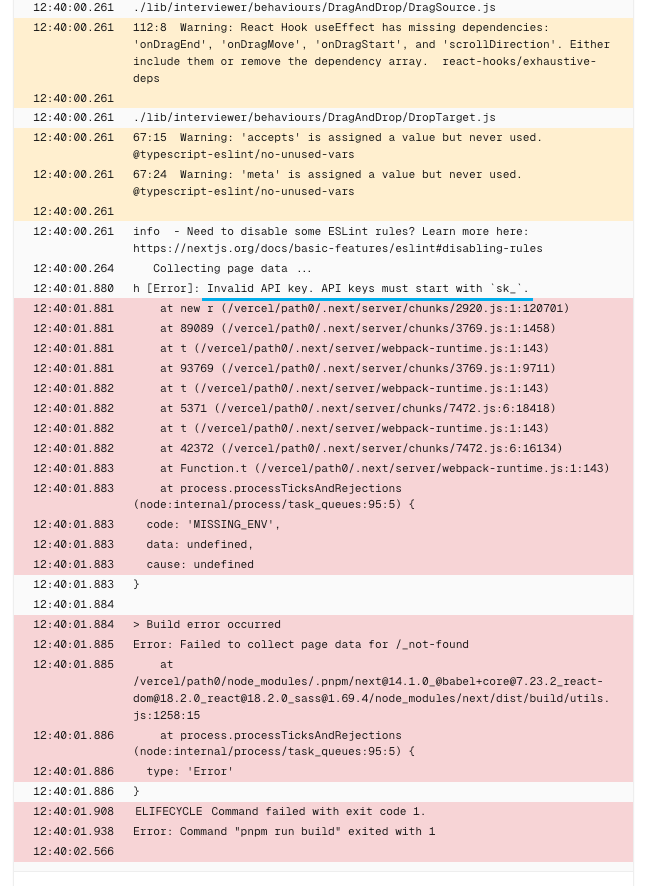
"Invalid environment variables" error during Netlify deployment
You may encounter an error in your deployment such as "Invalid environment variables"
"Invalid environment variables" error during Netlify deployment
You may encounter an error in your deployment such as "Invalid environment variables"
This error means that you provided an incorrect environment variable. Make sure to enter the environment variable value correctly. When copying variables from Neon, make sure you remove any "#" from before the variable.
"Instance Expired" message during the setup process
You may be redirected to a page that informs you that your instance has expired.
"Instance Expired" message during the setup process
You may be redirected to a page that informs you that your instance has expired.
When completing the initial setup for Fresco, you have 2 hours to complete the process. If you exceed this time, you will be redirected to a page that informs you that your instance has expired.
To recover, follow the steps in Reset your database below, and then complete the setup process again.
Protected URL issue
You may encounter an issue where your Fresco URL is protected and prompts login through Netlify.
Protected URL issue
You may encounter an issue where your Fresco URL is protected and prompts login through Netlify.
This error means that you are using the deployment specific URL, which requires login through Netlify to access. To resolve this issue, use the domain URL provided by Netlify. To find the correct URL:
-
Navigate to your project dashboard. This will be in the format
https://app.netlify.com/projects/<project-name>. -
Click the URL listed in green below your project name.
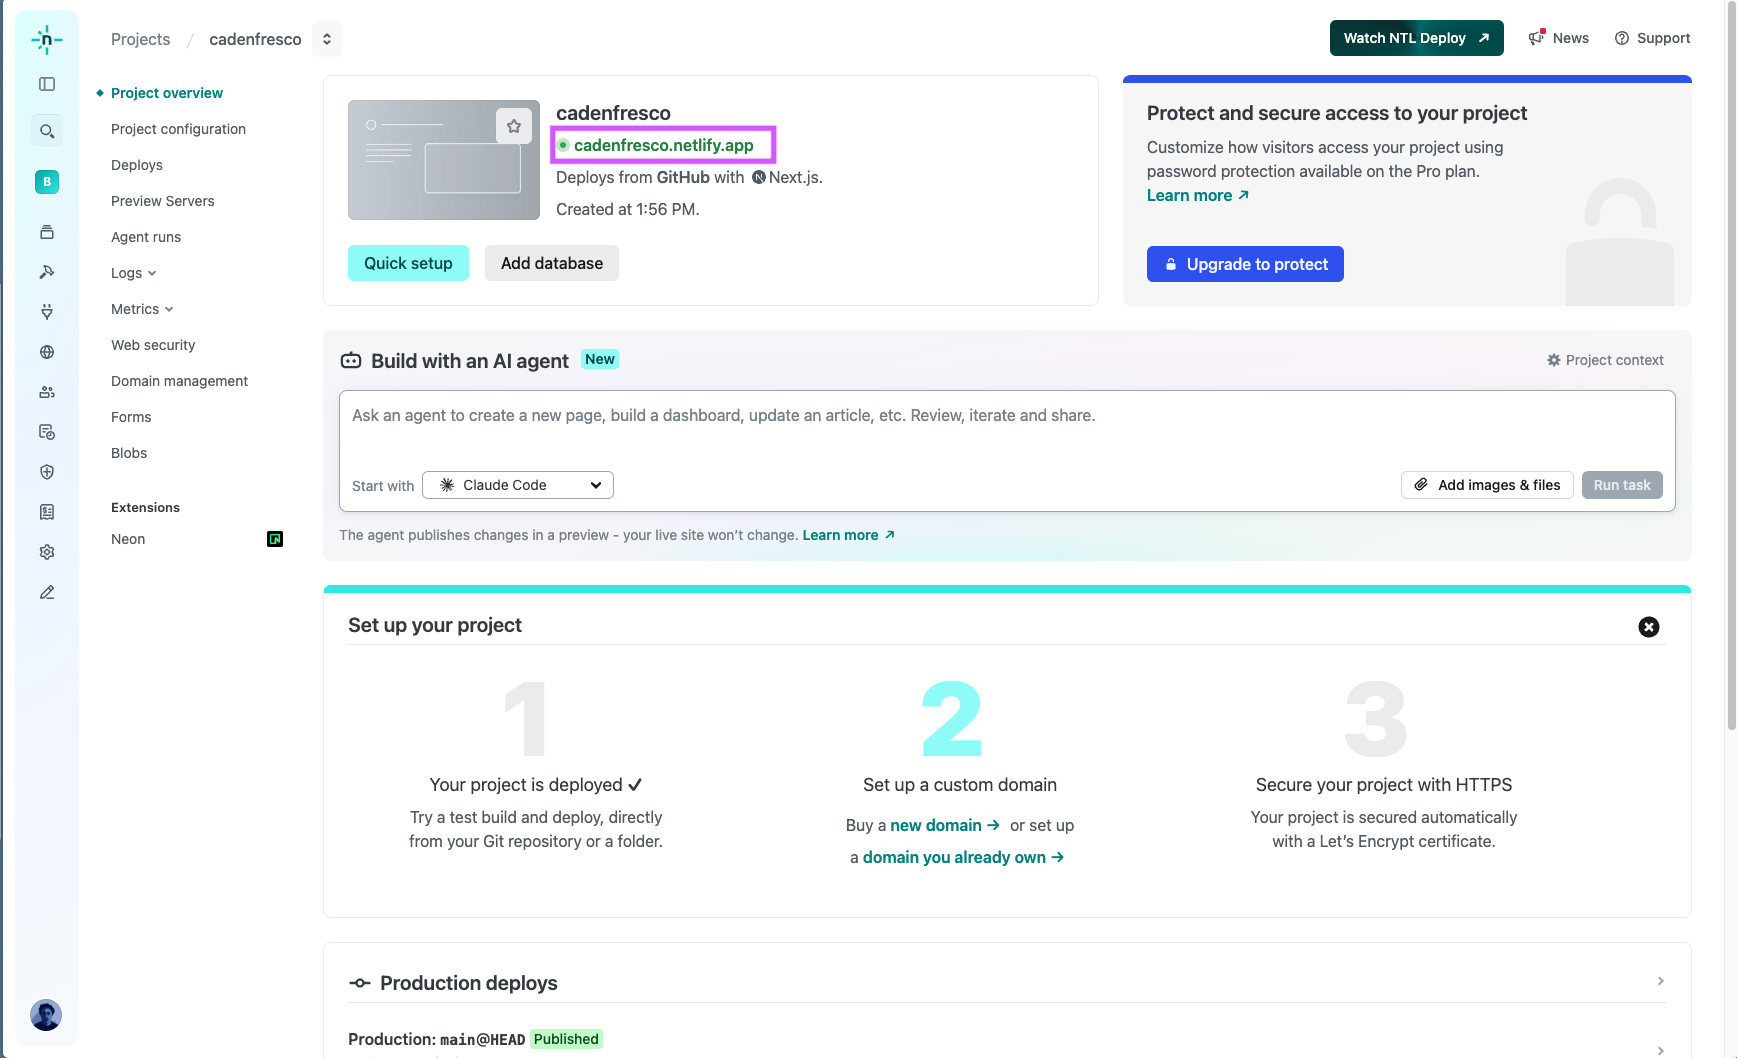
URL
Reset your database
Resetting your database erases everything stored in your Fresco instance's database — all protocols, participants, settings, accounts, and any unexported interviews — and returns the app to its first-run setup wizard. It is a last-resort recovery procedure: use it if your instance expired during initial setup, or if every account is locked out and no other recovery options remain.
Note that files in your configured storage backend — protocol assets and roster files in UploadThing, S3, or self-hosted MinIO — are not removed by a database reset. If you are decommissioning a study, delete them from the storage provider separately.
Export any interview data you can before you begin. The steps depend on how you deployed Fresco.
Netlify deployments using Neon
If you followed the Deployment Guide, your database is hosted by Neon:
-
Navigate to your Neon dashboard and select your project.
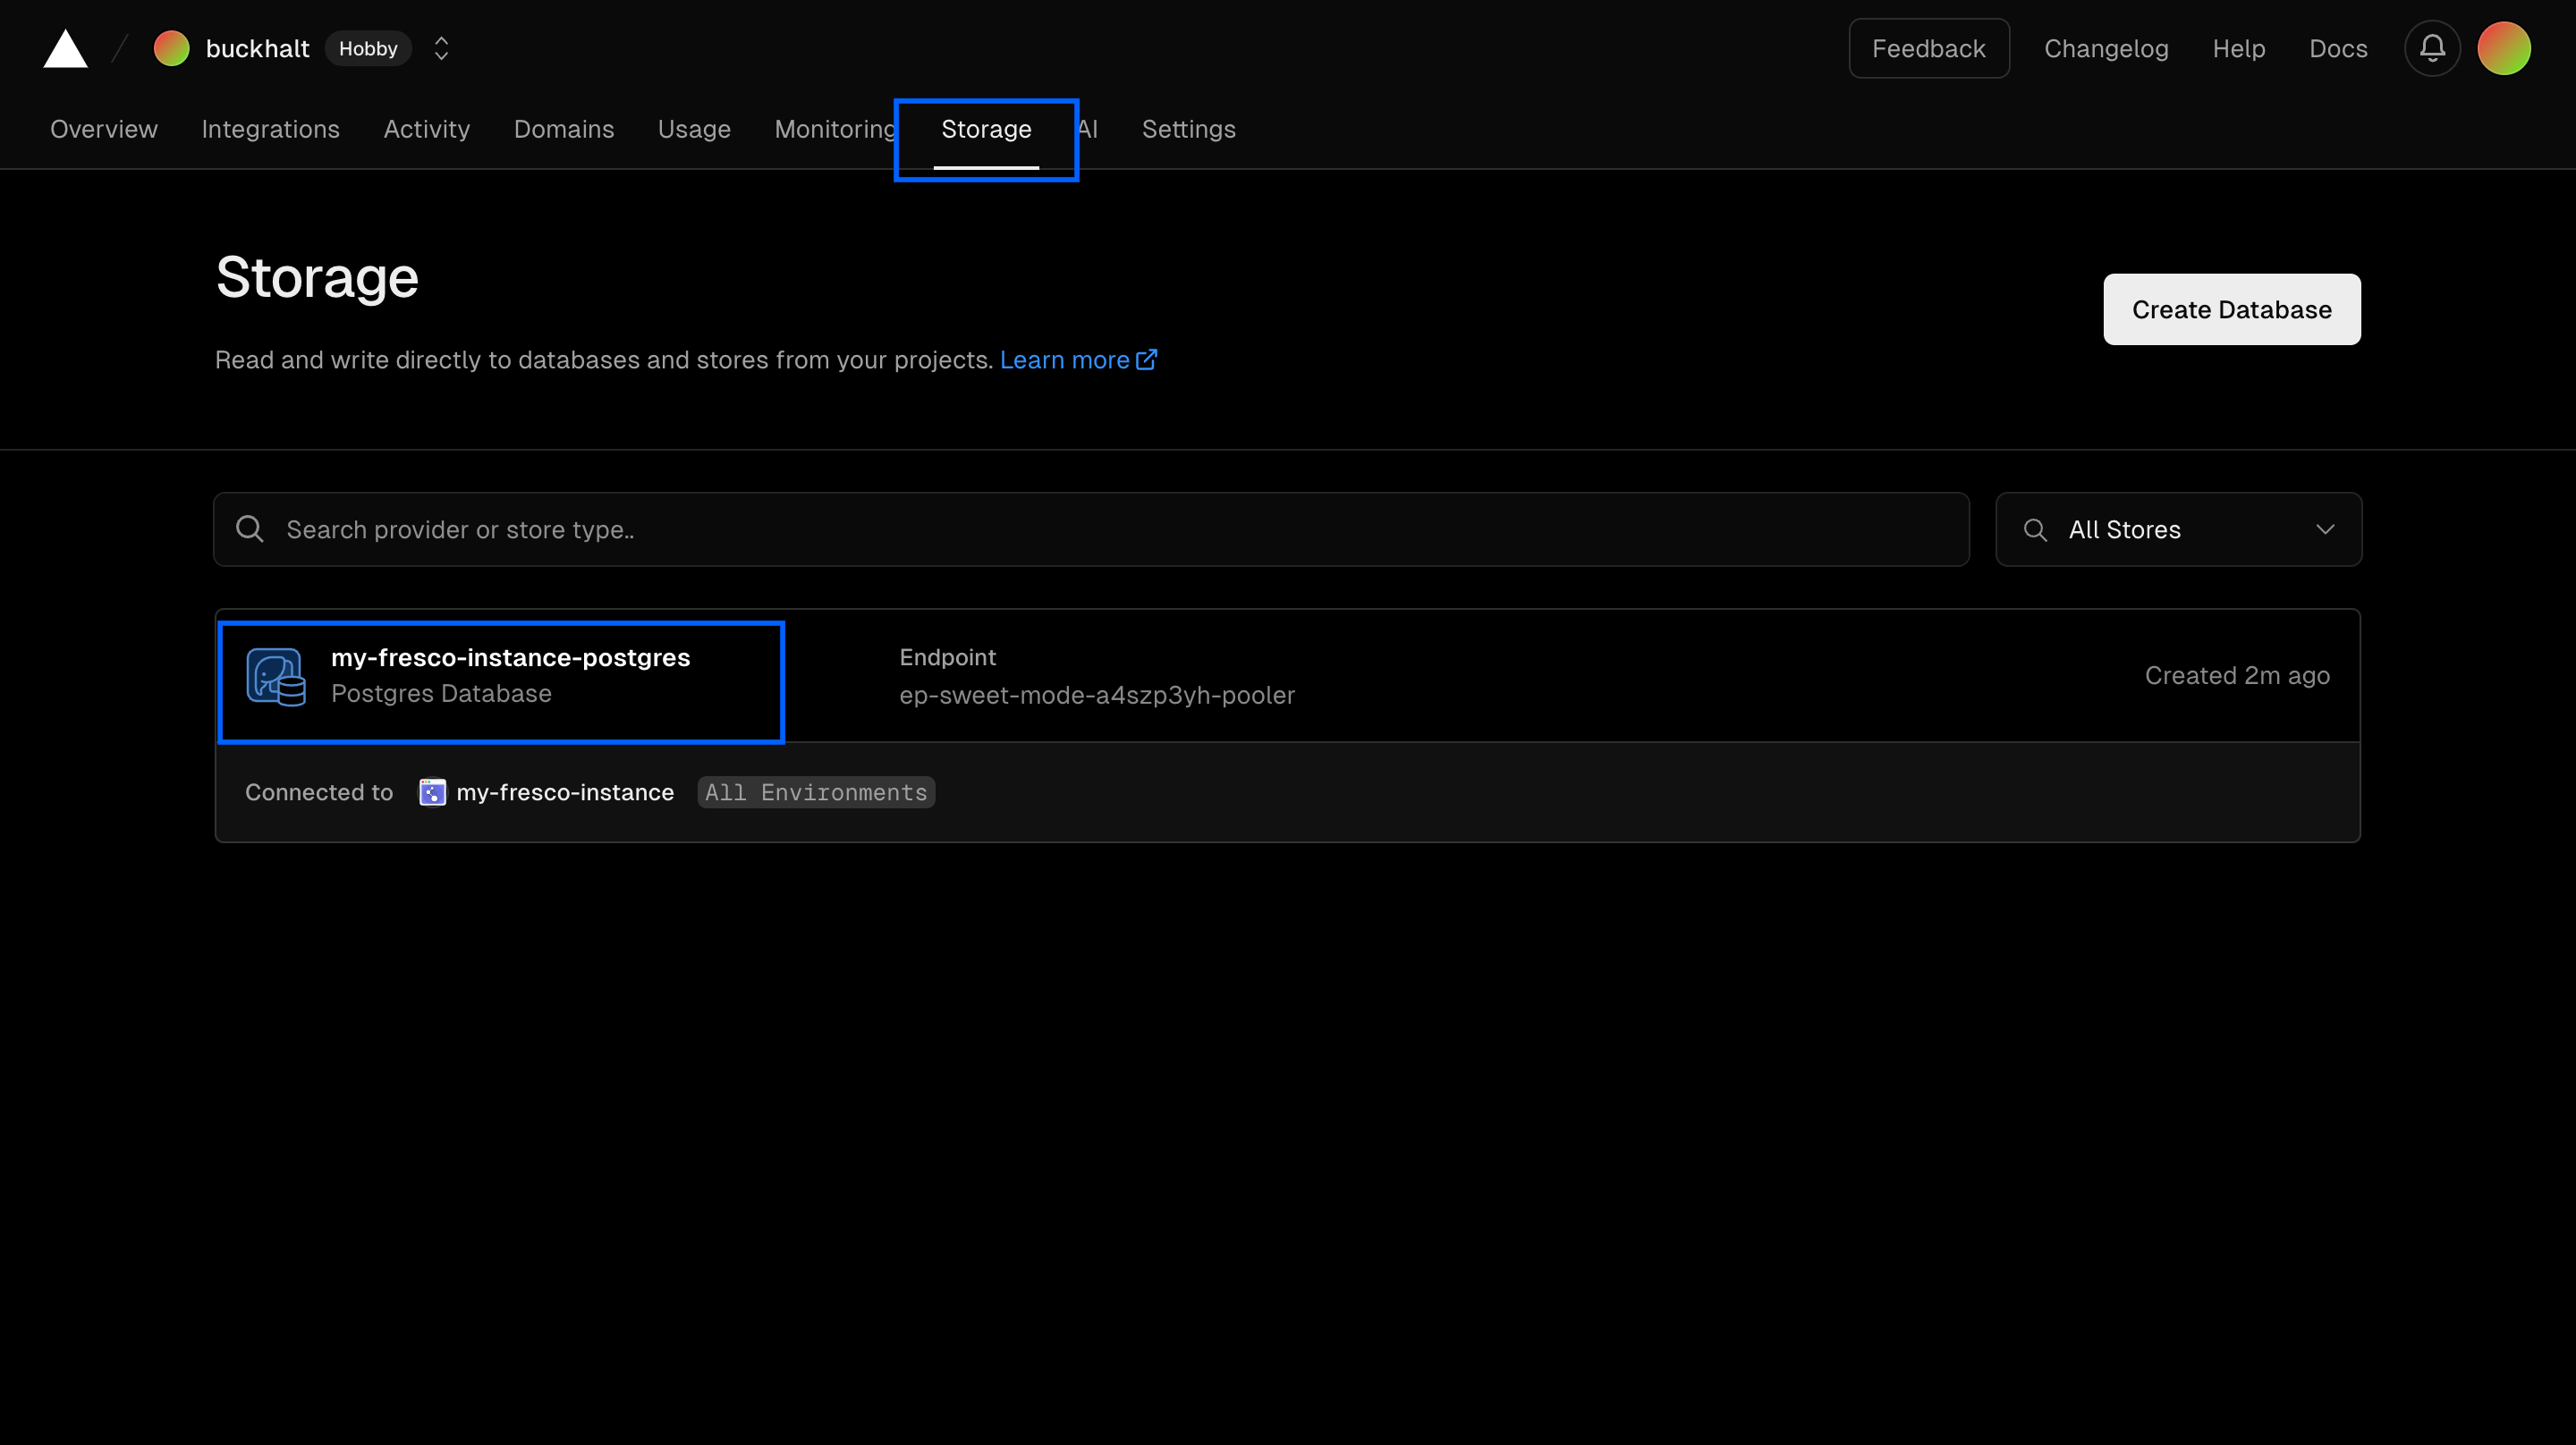
Select database -
Select the Settings tab, scroll to the bottom, and click Delete project.
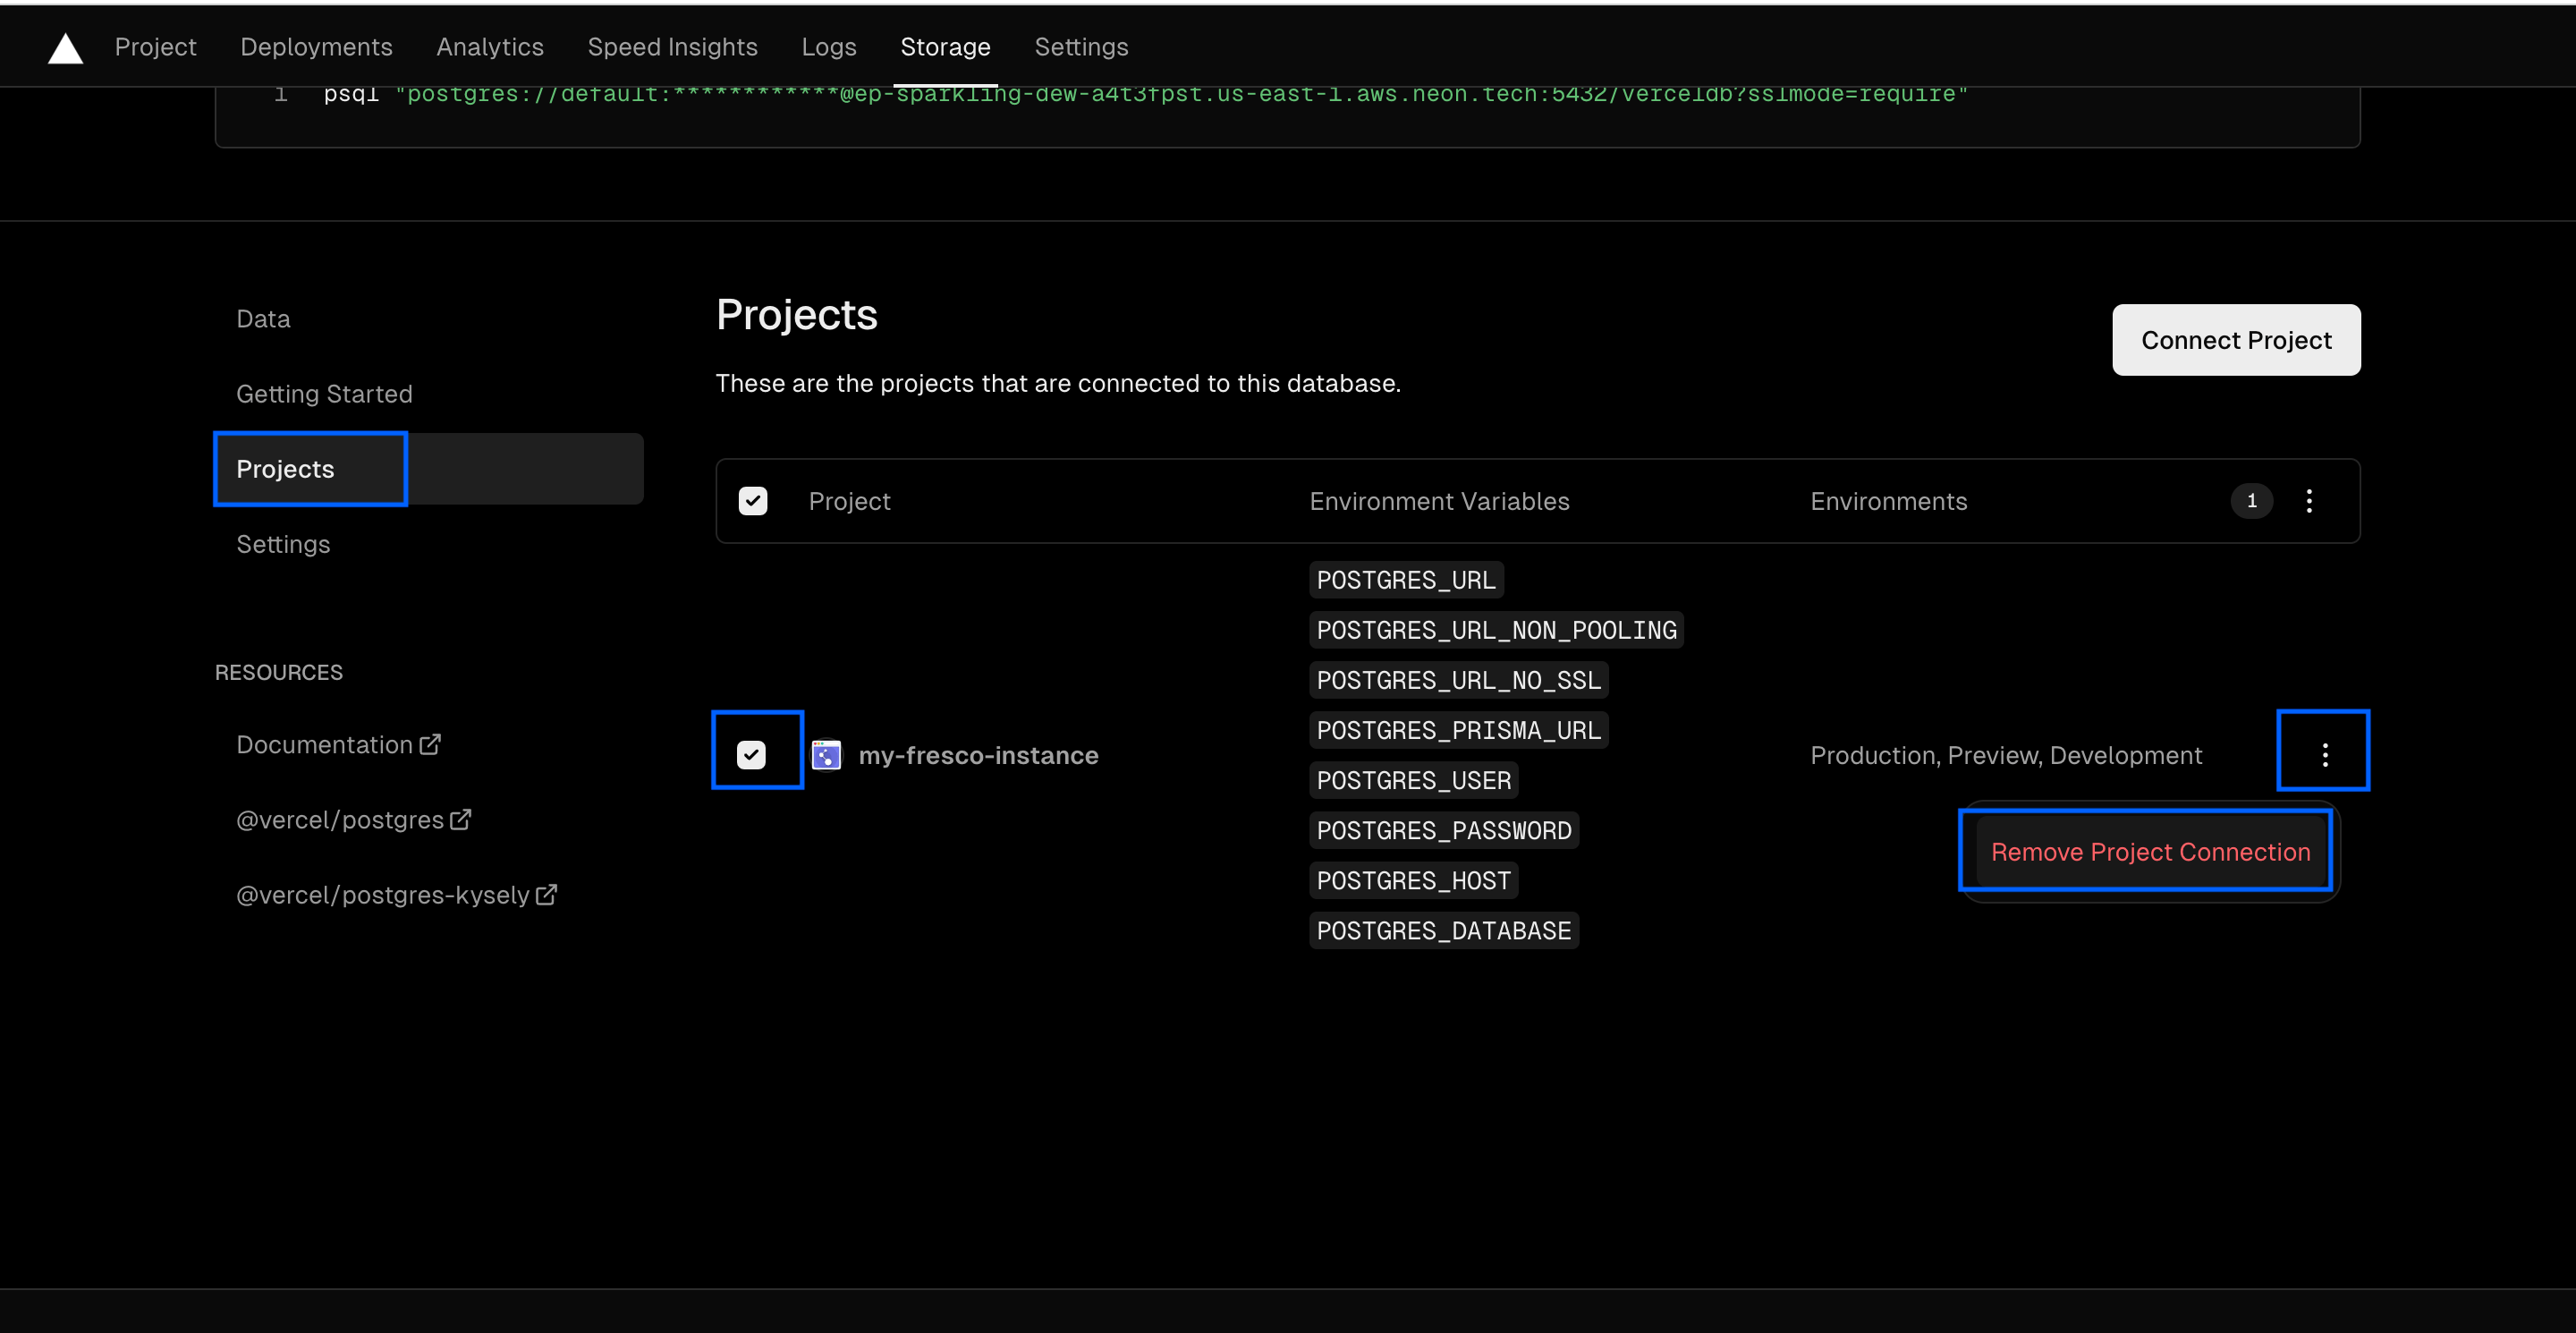
Remove project connection -
After confirming, follow the deployment guide to create a new database and replace the environment variables in your Netlify project.
Vercel deployments (legacy)
If you deployed with the legacy Vercel guide, your database is also hosted by Neon: follow the Neon steps above, then replace the database environment variables in your Vercel project settings (rather than Netlify) and redeploy.
Docker deployments
If you followed the Advanced Deployment guide and use the bundled postgres service from one of the official Docker Compose files, stop the stack, remove the volume that stores the PostgreSQL data, and start the stack again. Fresco will create an empty database and show the setup wizard the next time you visit your instance. The Advanced Deployment guide describes the compose files and their environment configuration.
If your Docker deployment points at an external PostgreSQL database (such as Neon) instead, delete and recreate the database with that provider, and update the connection strings in your .env file if they have changed.