Design Protocolsgetting started
Getting Started
Architect comes in two versions — the normal app, which runs in your browser with nothing to install (and can be installed as a Progressive Web App for offline use), and Architect Classic, a downloadable desktop application. They share the same protocol-building workflow but are not interchangeable. Choose your version below; if you are not sure which to use, see Choosing Architect or Architect Classic for a comparison.
What is Architect?
Architect is the browser-based version of Architect, the protocol designer for Network Canvas. It runs entirely in your web browser — there is nothing to download or install — and lets you compose name generators, capture ordinal and categorical data, map connections, and explore narratives, just as you can in the desktop application.
Opening Architect
Architect is available at architect.networkcanvas.com. Open it in any modern web browser. There is nothing to install.
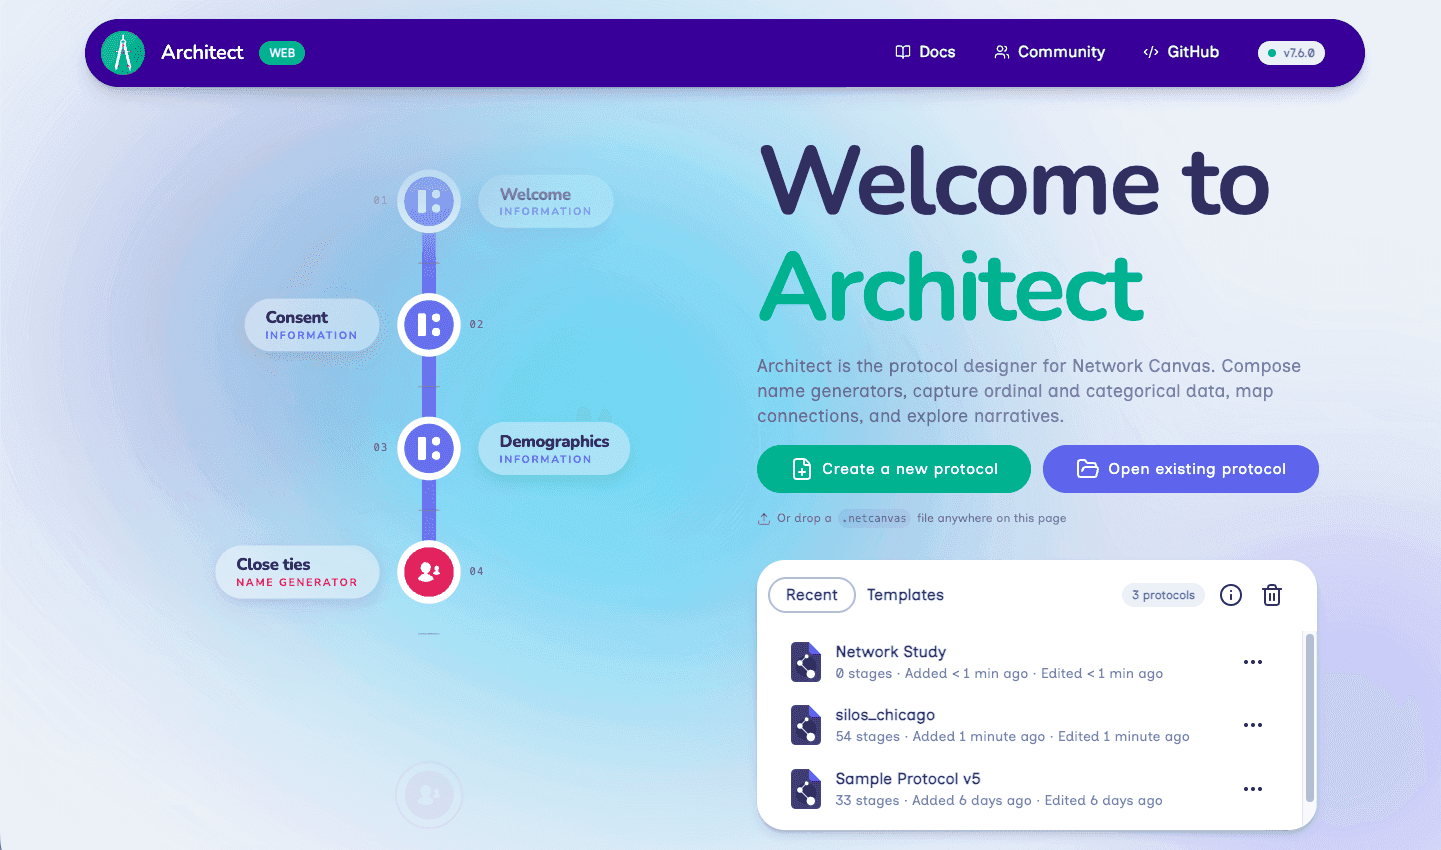
When you open Architect, you are greeted by the home screen. A welcome panel introduces the app, with links to the documentation, community, and code repository. From here you have two main tasks: create a new protocol, or open an existing one.
Changing the interface language
Architect's interface is available in English, English (UK) and Español. To change it, open the language switcher in the header navigation, which shows the language currently in use. On a narrow screen, the switcher is in the menu drawer instead. The list offers each language written in its own language, plus Automatic, which follows your browser's language and shows which language that currently is. Your choice applies at once and is saved on this device, so Architect opens in the same language next time.
The interface language changes Architect's own controls, guidance, dialogs and reports. It never changes your protocol: the questions, labels, options and data you write are kept exactly as you wrote them. The language of the built-in interview controls in preview is set separately — see Preview mode.
Creating a new protocol
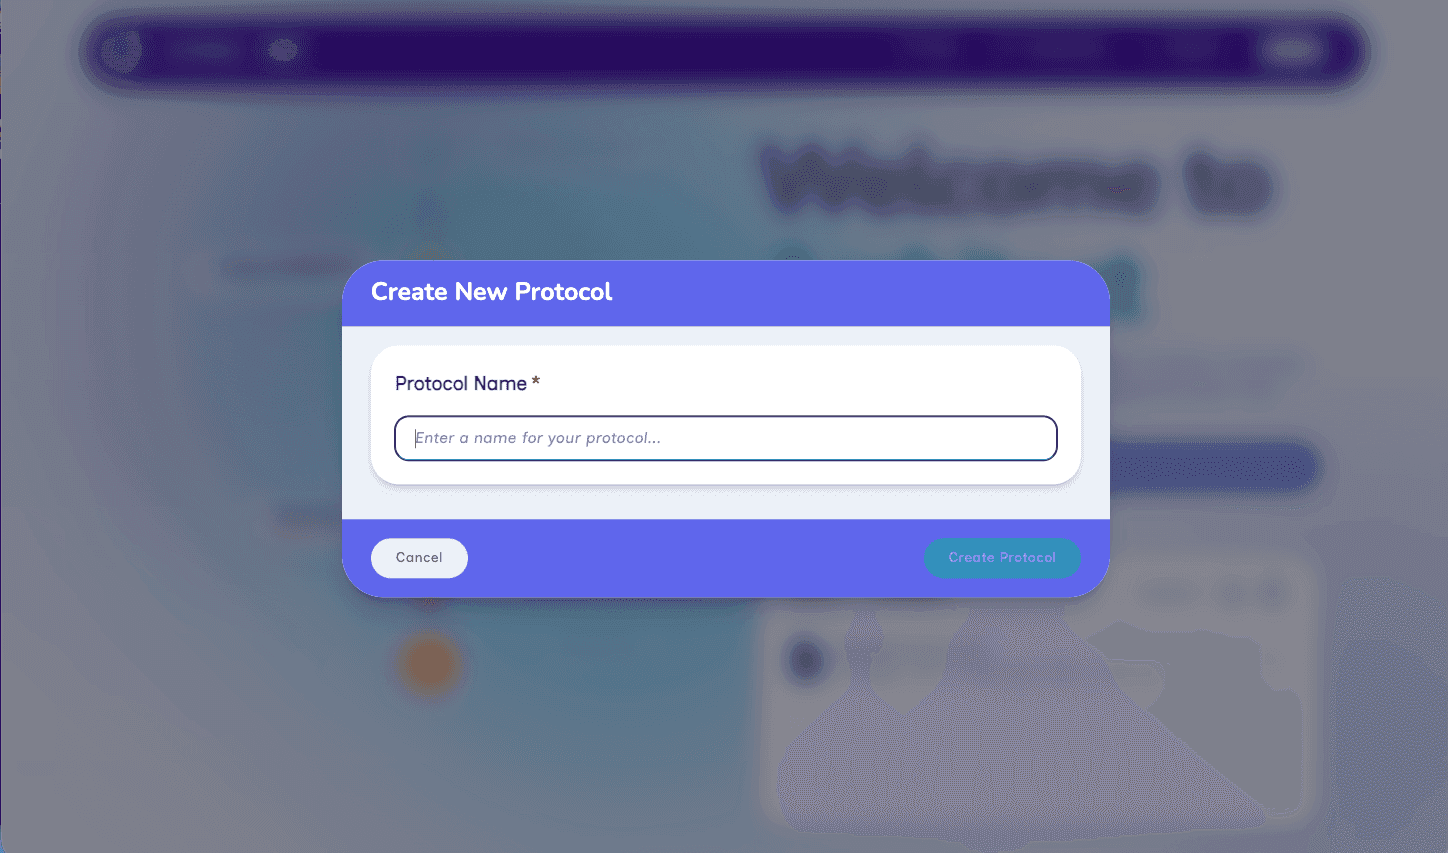
To build a protocol from scratch, click Create a new protocol. A dialog appears asking you to give your protocol a name — a name is required before you can continue. Enter a name and click Create Protocol. Your new, empty protocol opens in the editor.
Opening an existing protocol
If you already have a protocol saved as a .netcanvas file, click Open existing protocol and choose the file, or simply drag and drop a .netcanvas file anywhere on the home screen.
Your protocol library
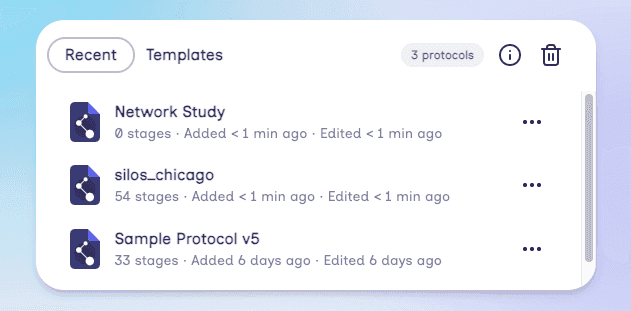
You can also reopen protocols you have worked on previously, directly from the home screen. Architect keeps a library of your protocols, saved in this browser:
- The Recent tab lists the protocols saved in this browser, showing how many stages each one has and when it was added and last edited. Click a protocol to open it.
- The Templates tab offers a set of ready-made protocols you can open and adapt. To use one, select it, give your copy a name, and it opens ready to edit.
The Sample Protocol is a good starting point if this is your first time using Architect — it is an example introducing the key features and techniques available in Network Canvas. Alongside it are several research-grounded starter templates, each modeling a different study design:
| Template | What it captures |
|---|---|
| Transnational Networks | The important people in a migrant's life, here and abroad, placed on a world map |
| Mental Health Networks | Supportive and difficult relationships, and who knows about your mental health |
| Social Connection & Isolation | A map of close relationships paired with questionnaires about loneliness |
| Behavioural Influence Networks | How your health habits compare with those of the people around you |
| Care & Support Networks | Who helps you through a period of care, and the kinds of help they give |
| Sexual & Injection Risk Networks | Sexual and injecting partners and timing, with encrypted partner names |
| Life Transitions & Turning Points | How a major life change reshaped the people around a participant |
| Colored Eco-Genetic Relationship Map (CEGRM) | A family pedigree combined with support and family health communication networks |
Beyond these ready-made templates, the Protocol Gallery showcases complete, real-world study protocols shared by other researchers, which you can browse for inspiration.
Because this library lives in your browser rather than on a server, it is important to understand what that means for backing up and moving your work. See Saving and backing up.
The protocol overview screen
Once you have created or opened a protocol, you are taken to the protocol overview screen. At the top, a card shows your protocol's name and description — both of which you can edit here — along with a count of its stages, node types, and edge types.
Below the card is the timeline, which represents the stages of your interview in the sequence that your participants will see them. Since you have just created a new protocol, the timeline is empty apart from a button that enables you to add your first stage.
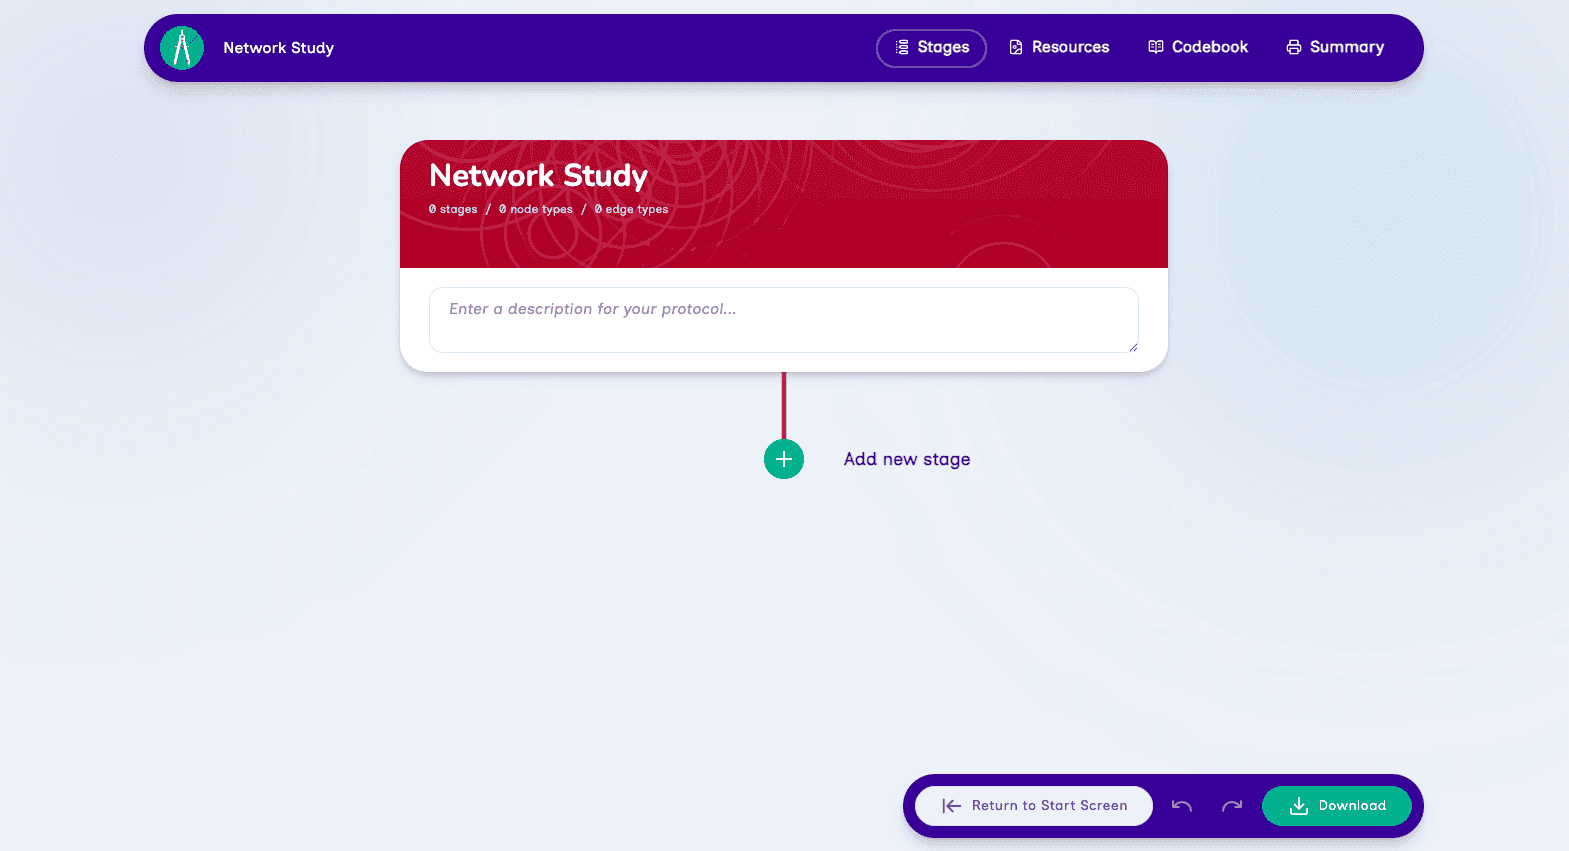
At any time, you can use Download to export your protocol as a .netcanvas file — for example to back it up, or to upload it to Fresco to run interviews.
Building your protocol
Now that you've opened Architect and created a protocol, the steps for adding stages through finishing off your protocol are shared with Architect Classic. Continue with building a protocol.
You may also want to read:
- Saving and backing up — how Architect saves protocols, and how to back them up.
- Preview mode — see how a stage will appear to participants.
- Frequently Asked Questions.
What is Architect?
Architect is a desktop application which runs on Windows, macOS, and Linux operating systems. The purpose of Architect is to provide a simple means for researchers to build Network Canvas interview protocols, without needing extensive technical knowledge. It aims to provide a visual and intuitive user interface, so that you can focus on the content of your interviews. You don't need to run Architect on the computer that you use to run Interviewer or Fresco, but you can if you wish.
Good to know:
We recommend following along using your own computer, so you should also download and install Architect
Opening Architect
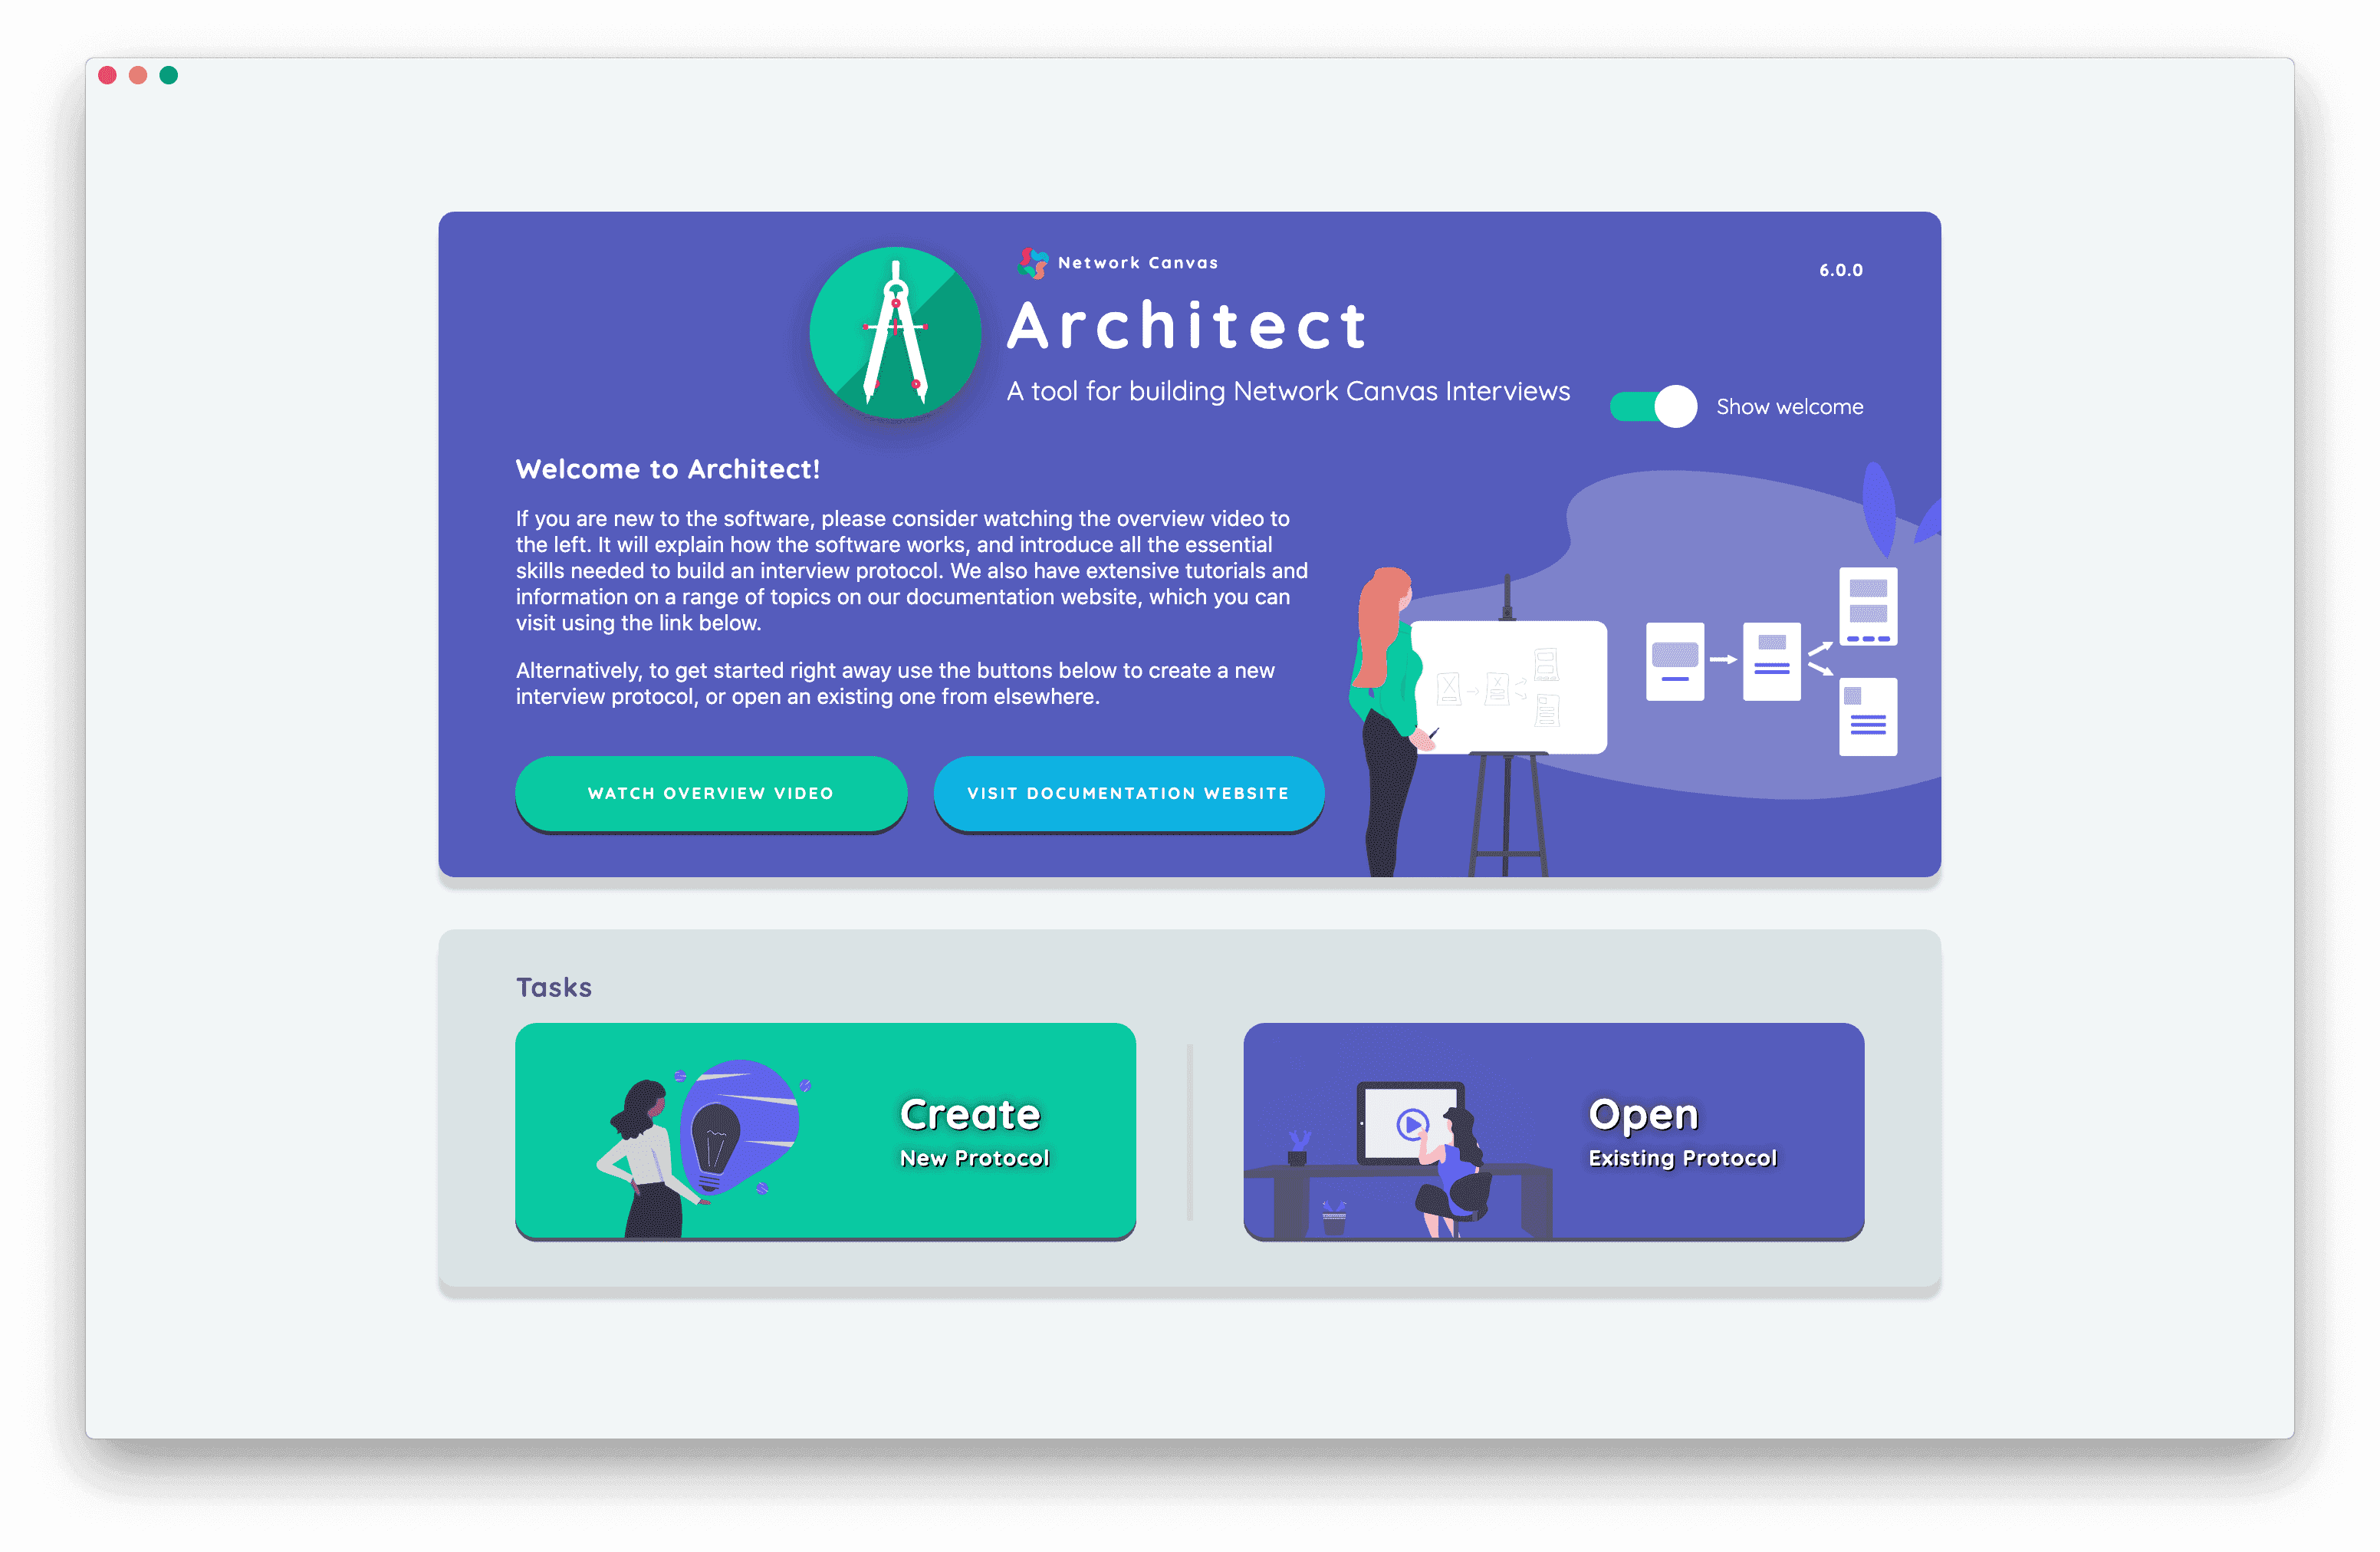
Upon opening Architect, you are greeted by the start screen. Like the start screen in Interviewer, you will see a welcome panel that contains links to the project overview video and the documentation website, with other sections becoming available as needed. When opened for the first time, the Architect start screen presents two task options: (1) create a blank new protocol, or (2) open an existing protocol from your computer.
In this tutorial we will be building a protocol from scratch, so we are going to start by creating a blank protocol. Click the "Create New Protocol" button within the tasks panel. Save the file with a name and location that you will be able to find later.
Key Concept: the Protocol File
Network Canvas protocols are stored in a file with the extension .netcanvas.
They are just like any other files on your computer, meaning you can move them
around, rename them (more about this later), and you can (and should!) back
them up. The .netcanvas file contains all of the data in your protocol. So
if you use roster data, images, or video, these will be embedded within the
file.
The protocol overview screen
Once you have created or opened a protocol, you will be taken to the protocol overview screen. This screen is designed around the vertical "timeline" metaphor also used by Interviewer. It visually represents the stages of your interview in the sequence that your participants will see them.
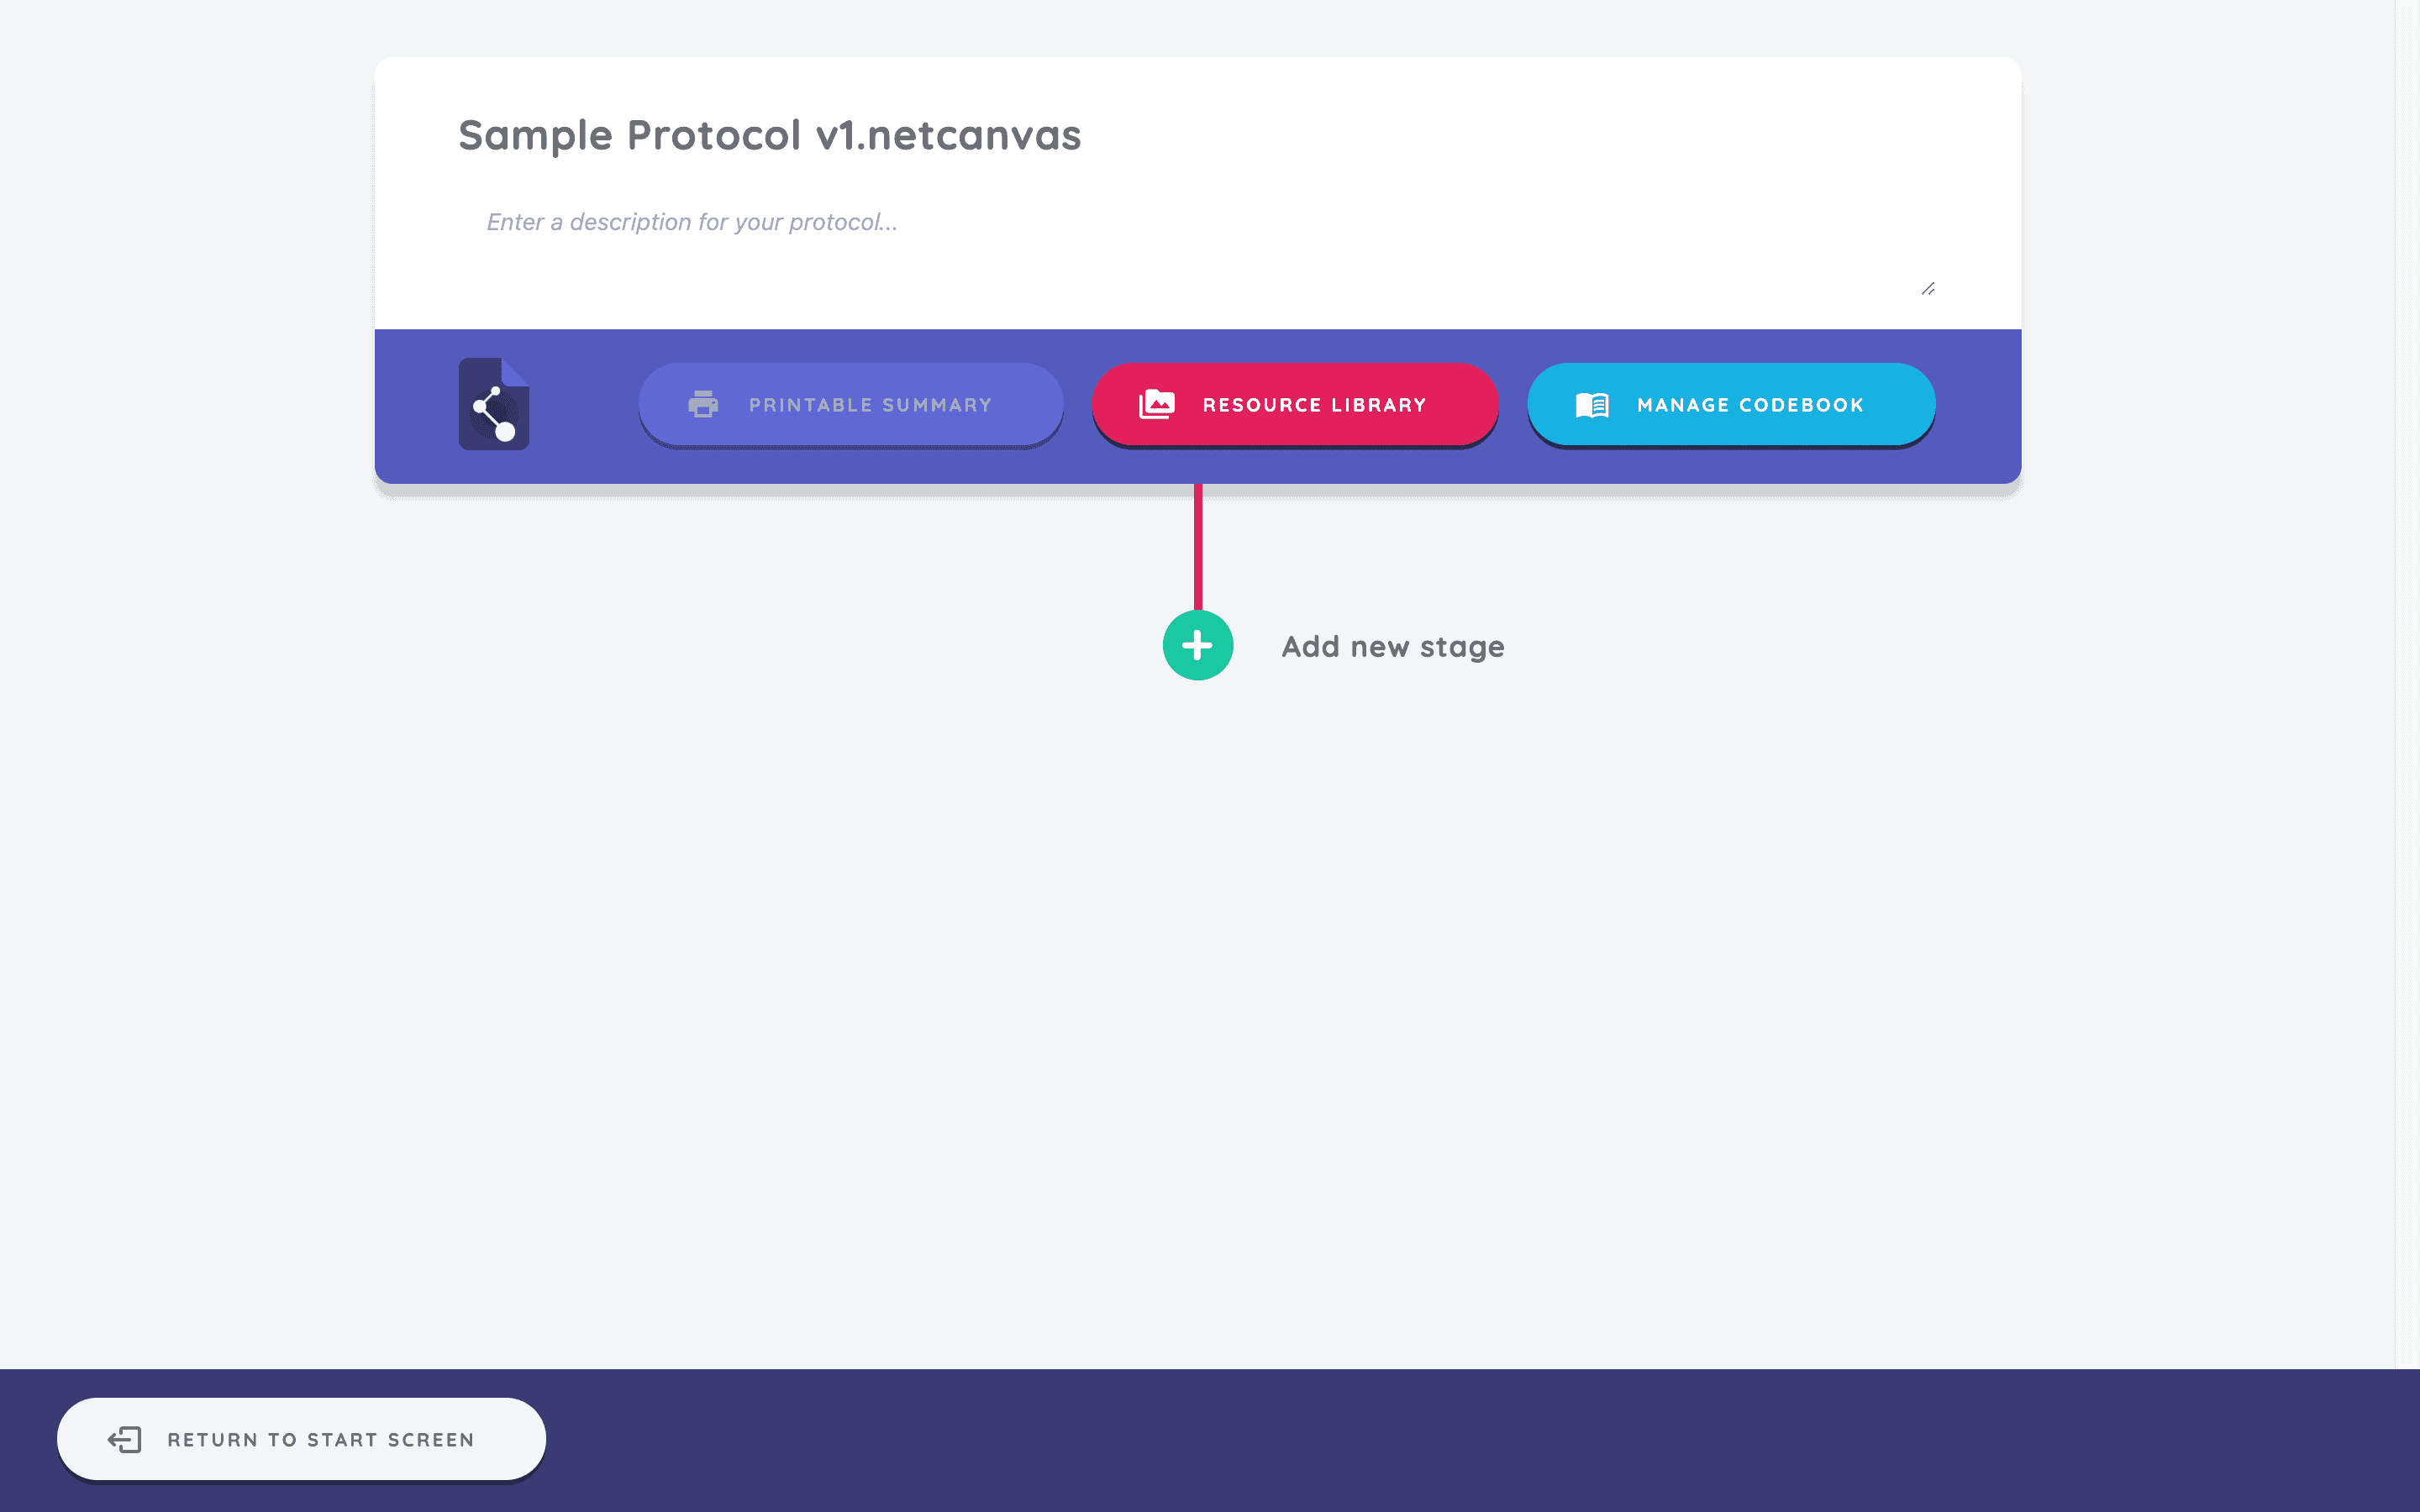
The protocol card at the top displays the protocol name and description, and provides three buttons: download printable codebook, access resource library, and manage codebook. This card appears when you import the protocol into Interviewer. The protocol description is optional and will appear in the Interviewer app on the start screen.
In Fresco, the protocol name will be displayed on the protocols page. For more information about protocol management in Fresco, see the using Fresco tutorial.
In the bottom left, you can see the "Return to Start Screen" button. Clicking this button will take you out of the current protocol, and back to the start screen.
Since we have just created a new protocol, we have a single button at the bottom of the screen, which enables us to add our first stage.
Building your protocol
Now that you've set up Architect and created a protocol, the steps for adding stages through finishing off your protocol are shared with Architect. Continue with building a protocol.